What Is Rasterbation?
Rasterbation turns an image into a large poster built from visible marks, most often halftone dots. Up close, the dots and the seams between sheets are obvious. Step back to the distance the poster was made for, and they resolve into a single picture.
How a halftone carries an image
A halftone replaces continuous tones with marks of different sizes or spacing. Dark areas take more ink; light areas leave more of the paper showing. Your eye blends those marks back into smooth tones at a distance.
The size of the marks decides the character of the result. Larger marks make the pattern more prominent and simplify small details; finer marks keep more detail but ask more of the printer. Paper, ink, the effective resolution of the image, and how far back people stand all shape the final print.
Rasterbator.io measures the pattern in physical units and applies it across the whole poster, so the pattern stays continuous across each PDF page boundary.
How rasterbation relates to tiled printing
Rasterbation changes how an image looks; tiled printing divides a large finished image across ordinary sheets of paper. They are separate steps. A tiled poster can keep its source unchanged, and a rasterbated image does not have to be printed on more than one sheet.
Rasterbator.io brings the two together. You choose the finished poster size, paper, margins, and joining method, then keep Original Image or apply a graphic style. The effect is calculated across the full poster before the PDF is divided into pages, so dots, pixels, and other marks continue across sheet boundaries. Cut guides and page labels then help you trim and reassemble the print.
For the printing process itself, see how to print a large image on multiple pages.
Original Image and graphic styles compared
The four examples below use the same source artwork. The faint large grid shows the printable sheets; the smaller dots or pixels belong to the selected style.
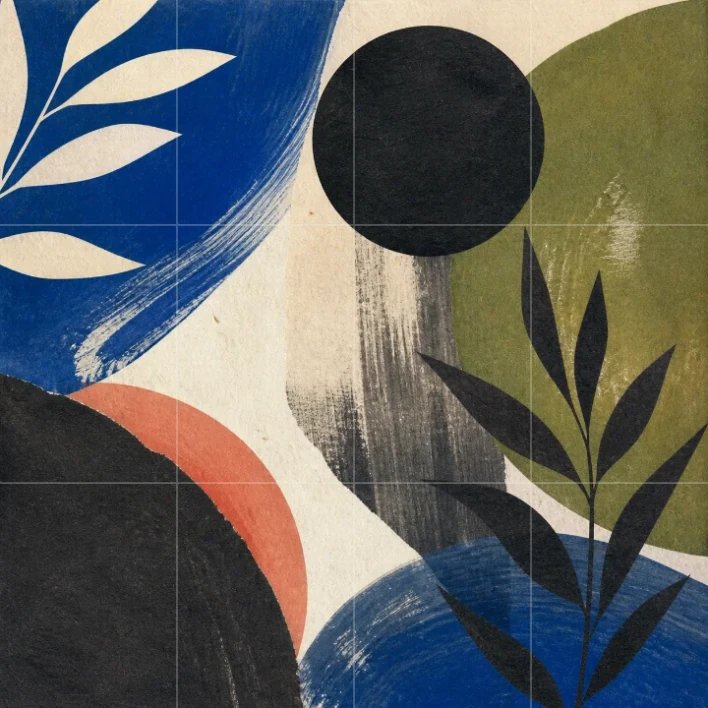
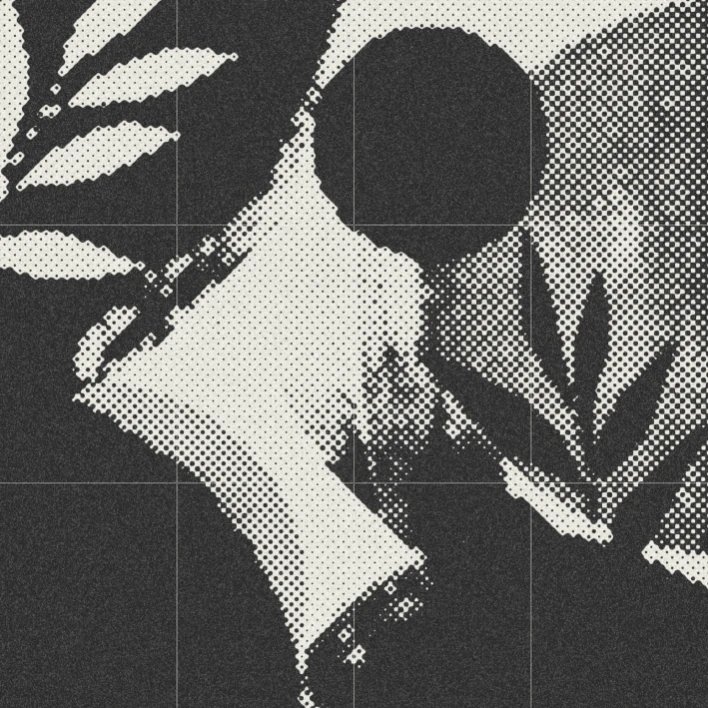
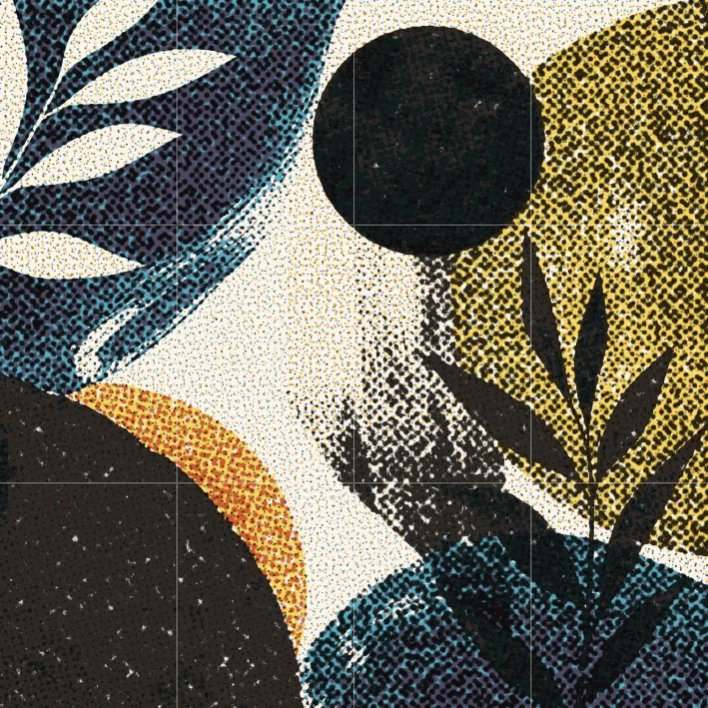
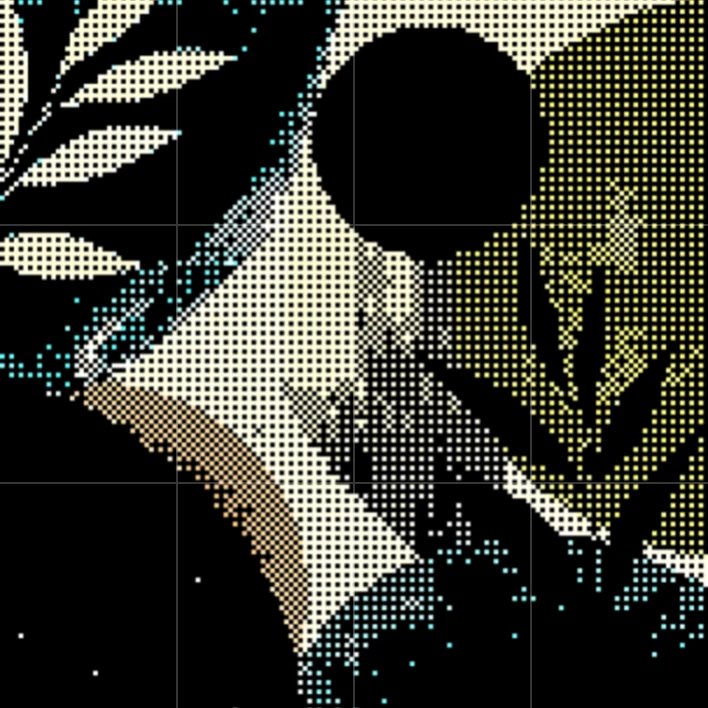
These treatments are easier to judge on the big shapes than on the page grid. The black circle remains recognizable in every style because its silhouette is simple. The blue brush stroke changes more: Original Image keeps its texture, Halftone Dots reduces it to tone, CMYK Halftone rebuilds it with a printed screen, and Retro Image Dithering turns its edge into a pixel pattern.
Which treatment should you use?
Keep Original Image when the source already has the look you want, or when small text, map labels, fine linework, or photographic detail has to stay easy to read.
Choose Halftone Dots for a clear one- or two-color graphic treatment; it tends to suit portraits and images with distinct light and dark masses.
Choose CMYK Halftone when color matters but a screened, print-like surface is part of the appeal, and Image Dithering for a deliberately digital texture with limited colors and hard pixel edges.
No pattern size is universally best. Compare Original and Preview in the Style step, then inspect a representative sheet from roughly the distance the poster will be seen at. A pattern that looks coarse on screen may read clearly on a wall, while a very fine one can disappear into the printer's dot gain or the texture of the paper.
Make a rasterbation poster
- Import a supported image in Image.
- In Poster setup, size the poster by sheets or enter an exact finished size.
- Open Style and choose Halftone Dots, CMYK Halftone, or Image Dithering, or keep Original Image if all you want is tiled printing.
- Adjust the pattern while comparing Original and Preview.
- In Review & download, check the full poster, printed sheets, and individual pages. Add cut guides or page labels if needed.
- Download the PDF and the assembly guide, and print at Actual Size or 100% before trimming and joining the sheets.
Images selected from your device are processed locally in the browser.