Make a halftone image in three steps
- Choose an image from your device, drop or paste one, or select Try example.
- Choose a look with Halftone Dots or CMYK Halftone, then select a preset. Adjust the pattern and colors, and compare Original with Effect. Use Expand preview for a closer look.
- Download the PNG when the effect is ready. After changing a setting, wait for the updated result before saving.
The halftone look: dots, contrast, and printed texture
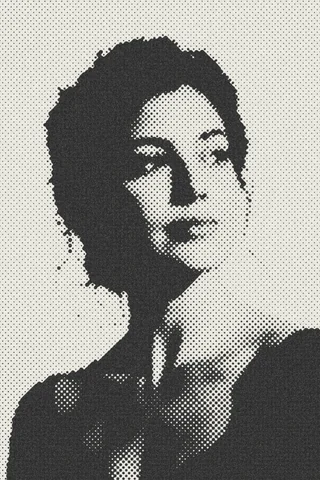
Halftone art turns smooth shading into visible dots and marks. Up close, the pattern becomes part of the design; from farther away, those marks blend into a face, landscape, or still life. That balance gives halftone portraits and posters a bold, graphic character associated with comic books, newspaper images, and pop art.
A black-and-white halftone emphasizes silhouettes, light, and shadow. A CMYK halftone adds overlapping colors for a printed-ink feel, while a larger dot pattern can make a simple image feel more playful. Choose a clear subject and leave room for the halftone texture to show, especially for cover art, flyers, and wall prints.
Choose dots or colored ink
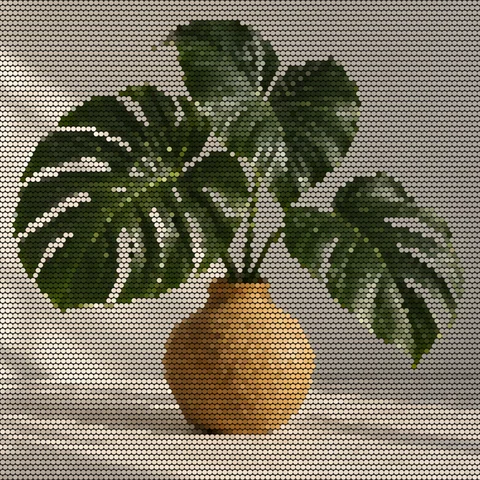
Halftone Dots turns your image into a pattern of marks on a background. Start with Default for dots, LED screen for a display-like texture, Mosaic for colored shapes, or Round and square for a mix of shapes. Enable Use original colors to keep colors from your photo, or turn it off to choose your own foreground and background.
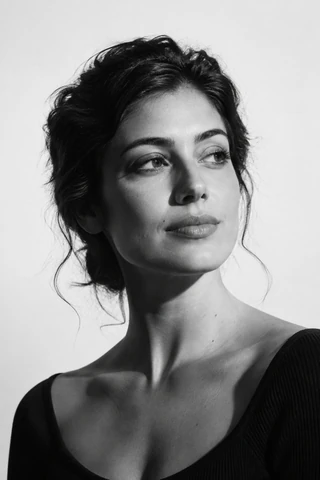
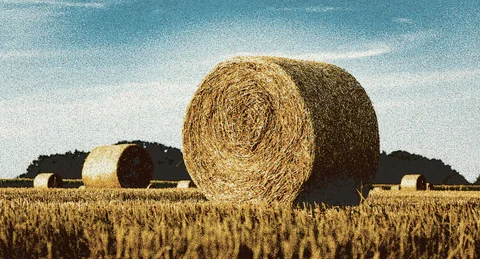
CMYK Halftone overlaps cyan, magenta, yellow, and dark marks for a printed-ink look. Try Default, Drops, Newspaper, or Vintage. Open More settings to change the ink colors, texture, and how strongly each color appears. The examples above show how the presets work on portraits, landscapes, and still lifes.
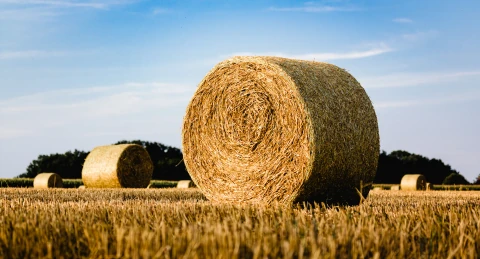
The Default preset gives this harvest-field photo a halftone dot texture.

Balance pattern and detail
Pattern spacing sets the distance between marks. Smaller spacing creates a finer pattern; larger spacing makes each mark stand out. Dot radius changes how much of the image the marks cover. Contrast separates light and dark areas more strongly.
Check the whole image and the expanded preview. A pattern that looks clear close up can blend together when shown as a small thumbnail. Faces, fine lines, and small lettering may lose detail, so compare the result at the size where you plan to use it.
Output longest edge sets the PNG size while keeping the image proportions, up to 2048 px. The starting size follows your original image, up to that limit. Resizing also adjusts the pattern spacing to keep a similar look. If processing fails, try a smaller output or a smaller image.
Keep creating with your image
Try the Dithering Tool for a regular grid or scattered texture. To make a wall poster, download your result and open it in the Rasterbator poster maker. Use Image to PDF to place complete images on individual PDF pages.