Dither your image in three steps
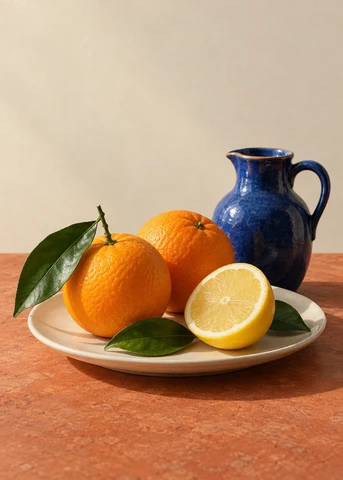
- Choose an image from your device, drop or paste one, or select Try example.
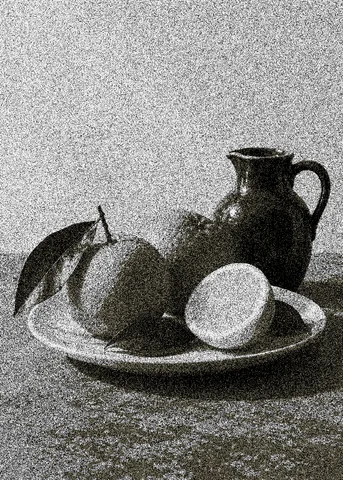
- Choose a preset: Default, Noise, Retro, or Natural. Adjust Cell size, Color steps, and colors, then compare Original with Effect. Use Expand preview to see the pattern up close.
- Download the PNG when the result is ready. After changing a setting, wait for the updated image before saving.
Dithering as a retro art style
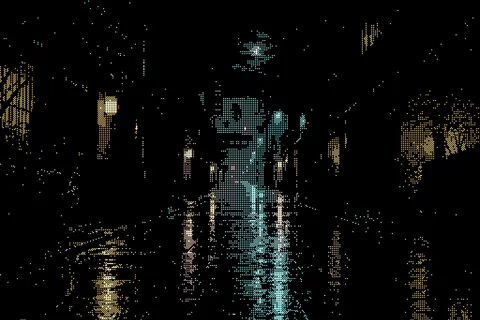
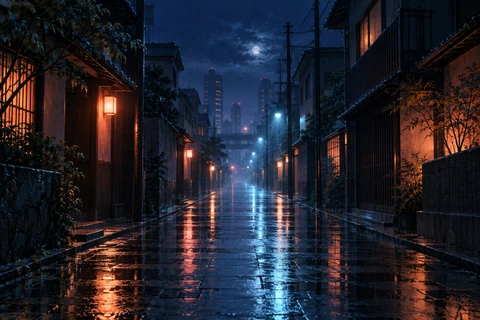
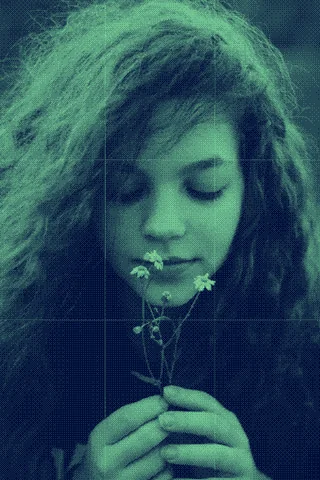
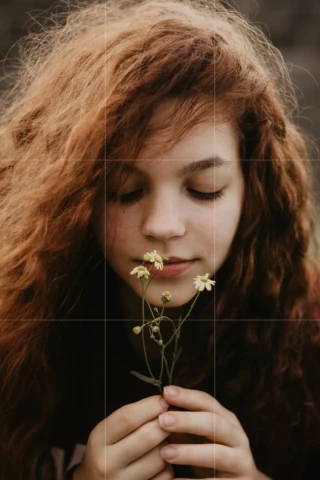
Dithering makes small color patterns part of the picture. The visible texture recalls early computer graphics and handheld games, but dithering also works as a graphic treatment for modern portraits, night scenes, and cover art. It gives smooth areas a patterned surface while keeping the main shapes recognizable.
Bayer dithering creates an orderly, geometric rhythm. Noise dithering feels more scattered and grainy. Large cells emphasize a pixelated look; smaller cells create a quieter texture. For a retro poster or profile picture, try a simple palette and a clear silhouette, then check how the dithering looks at the size you will use.
Choose a grid or scattered texture
Bayer repeats a small pattern across your image. Try 2×2, 4×4, and 8×8 to see how each changes the texture. Noise scatters the pattern for a less regular look. Compare them on the same photo to find the style you prefer.
The presets give you four starting points. Default uses an 8×8 Bayer pattern, Noise gives a scattered texture, Retro uses a coarser 2×2 pattern, and Natural keeps the original colors with more shading levels. You can adjust any preset while keeping your chosen image.
The Default preset gives this harvest-field photo an ordered Bayer dither pattern.

Balance texture, color, and detail
Increase Cell size to make the pattern more visible, or decrease it for a finer texture. Color steps changes how strongly light and dark areas separate. With Use original colors enabled, the effect uses colors from your photo. Turn it off to choose the foreground, background, and highlight, or try a color palette.
Start with an image whose main shapes are easy to recognize. Compare faces, fine lines, and small lettering with the original. Check both the whole image and the expanded preview, since a fine pattern can blend together at smaller display sizes.
Output longest edge sets the PNG size while keeping the image proportions, up to 2048 px. The starting size follows your original image, up to that limit. Resizing also adjusts the cells to keep a similar texture. If processing fails, try a smaller output or a smaller image.
Try another effect or make a print
Use the Halftone Generator for dots and overlapping colored-ink effects. To make a wall poster, download the PNG and open it in the Rasterbator poster maker. Use Image to PDF to place complete images on individual PDF pages.